
Documentation
User Accounts
Applicants
Users need the role of 'Applicant' in order to create applications. To become an applicant, a user must:
- Create an account on the site. They can go to 'Log In' at the top right of the site and then to the 'Create new account' tab or they can find a link to 'Create Account' on the 'Getting Started' page once a Cycle is open.
- Verify their email address by clicking a link in an email they then receive. This is necessary to reduce spam accounts.
- Complete their user profile and press 'Request Approval.'
- Be manually assigned the Applicant role by an Editor.
Approving New Applicants
When a potential applicant completes her profile and presses the 'Request Approval' button, she will get a confirmation email and an email will also go out to the site e-mail address to let you know she is waiting for approval. (Go to Site Configuration > Basic Site Settings to change the site e-mail address.)
Now an editor needs to review the account and, if the account qualifies, edit the account to give it the role of Applicant.
You can also find users who have requested approval on the People page at admin/people. See the column labeled 'Verification Request Pending.'
From here, either edit the account and give it the Applicant role, or check the row(s) in the People table, choose Action ‘Add the Applicant role to the selected users’ and press ‘Apply to Selected items.’
Once you assign the user the Applicant role, she will receive a notification email. As an applicant, she now has access to create applications on the site.
Customizing User Account Emails
To customize email messages that go to users during various steps of registration go to People -> Account Configuration. Scroll down until you see the Emails section. You will see vertical tabs of different email templates you can customize.
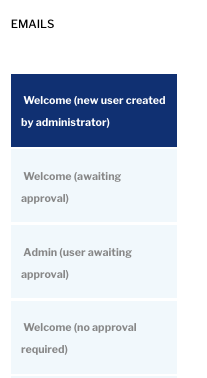
You can click on any of these to edit the associated email notification. Or, you can disable the e-mails with the checkbox, when available.
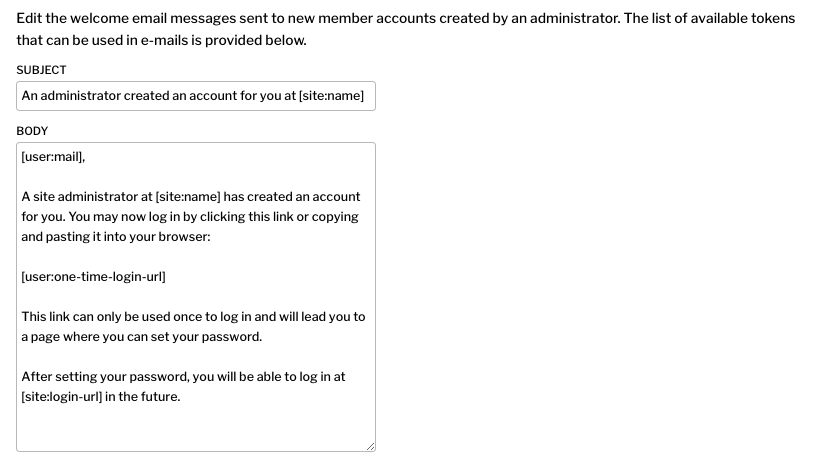
These email templates allow tokens to be included, identified with square brackets. Tokens dynamically insert information such as the site name, username, date, and other items. You can see a full categorized list of available tokens by clicking on the link that says ‘Browse available tokens’.
Customizing User Profiles
You can make changes to the form potential applicants see when they register a new account as well as to the profile form they see when they edit their account. These forms use the same system of fields as described in the Applications section of this guide.
All of the profile forms (registration, applicant profile edit, and editor/reviewer profile edit) use the same set of fields, which are managed at People -> Account Configuration -> Manage Fields. You can add and edit the fields there.
On the ‘Manage Form Display’ tab you configure which of these fields appears on each form (registration, applicant profile edit, or editor/reviewer profile edit).
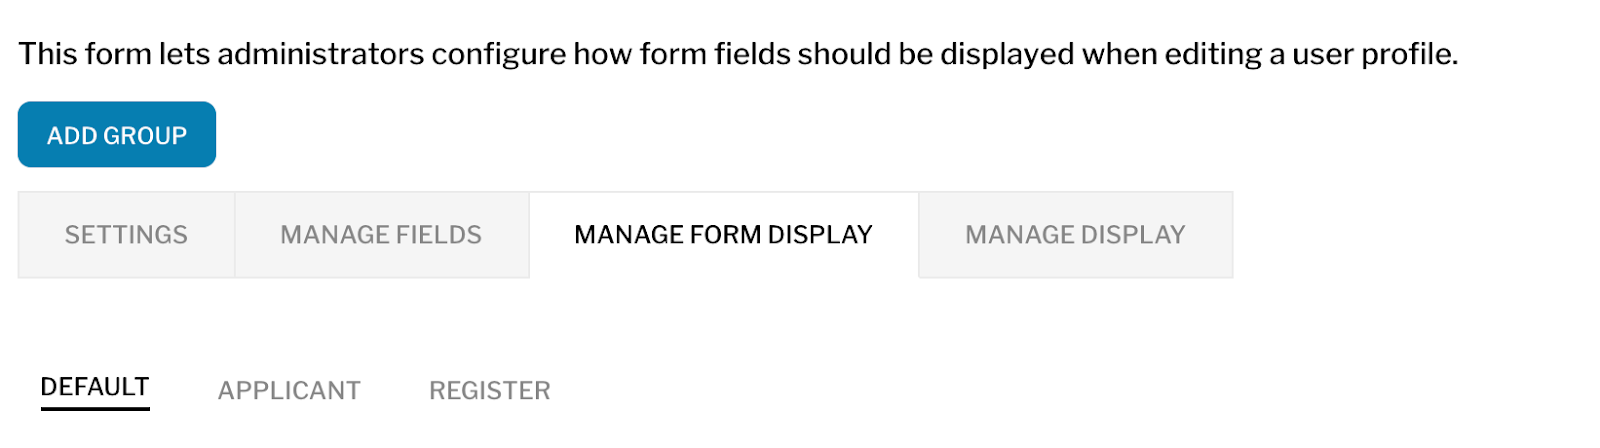
The first sub-tab, ‘Default’, is for configuring the profile form for non-applicants (the editor/reviewer profile edit). These are the fields you’ll see if you edit your own user account or the account of an editor or reviewer.
The second tab ‘Applicant’ is the applicant profile edit form. Applicants fill this out when they request approval for their account and when they edit their account.
The third tab ‘Register’ is what users see when they register for an account on the site.
Contacting an Applicant
You can send an e-mail to any user on the site by going to the Contact tab when viewing a user profile.